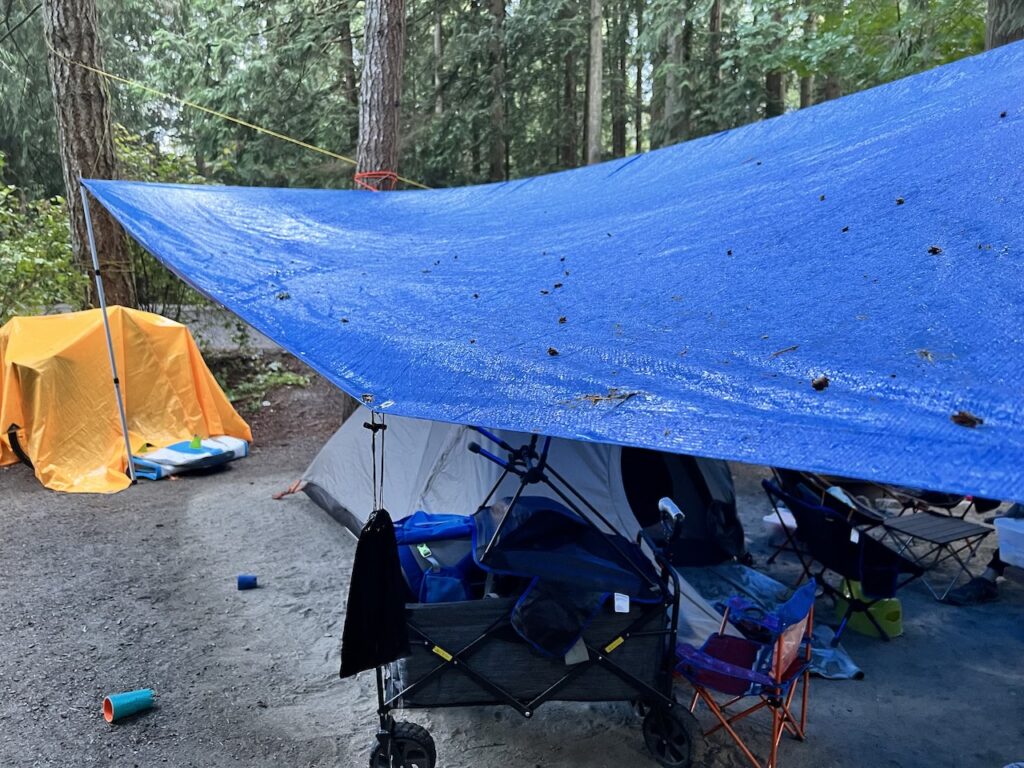
Over the last few years, we’ve gone camping a few dozen times. Among these trips, many were in the rain. As we are strictly tent campers for now, setting up rain tarps is an essential skill to ensure acceptably dry living quarters.
I have documented my learning process and the evolution of my techniques in a previous post. After camping for a whole week in the rain recently, I feel confident that I should update the blog and summarize my learning so far.
Key Considerations for Setting Up Rain Tarps
Clear drainage points, preferably down slope from important living areas
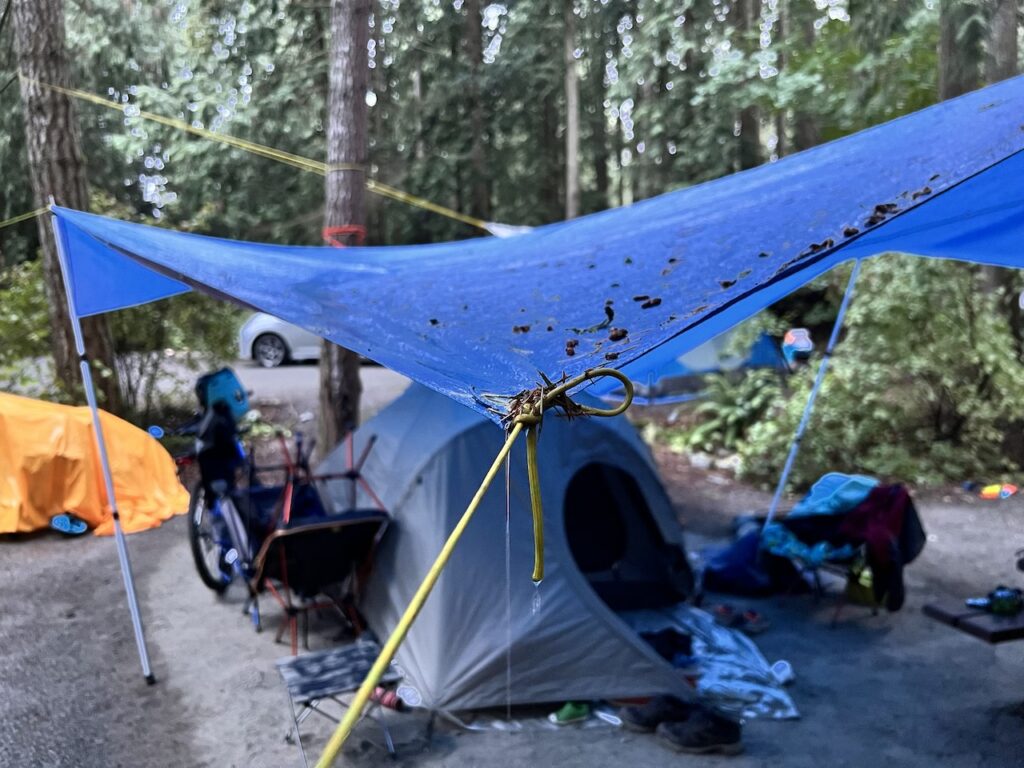
The tarp is very good at collecting water if there is a low point in the middle. With a pool of water on the tarp, it can get heavy very quickly. The tarp will sag and eventually give way to a downpour of potentially gallons of water, which can easily flood the campsite.
To avoid this, one must create clear drainage points on the sides or corners of the tarp. Full marks if the drainage points lead the water away from the tents and activity areas.
Enough head room to comfortably stand up under
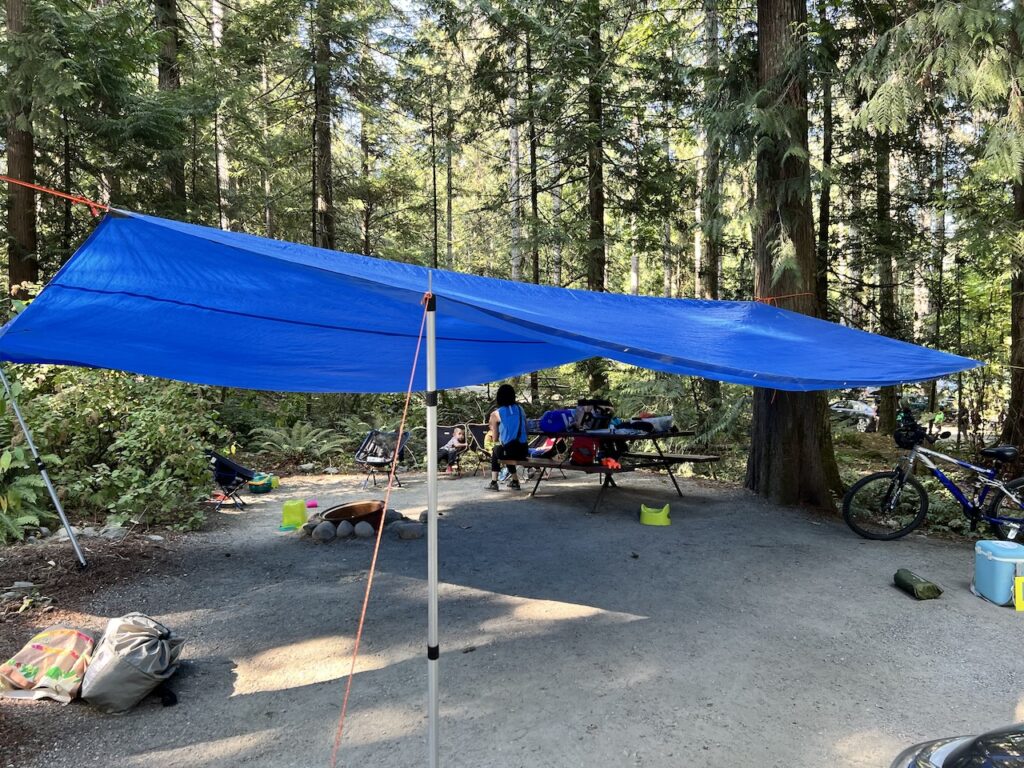
It’s tiring to cook a camp meal while crouching under a low tarp. The main traffic area should also have enough clearance for the tallest person of the group to enter and exit easily. Tying the corners properly if possible. Using adjustable tarp poles can easily help fine tune this as well.
Minimize tripping hazards
If it’s possible, avoid guylines near areas where people tend to walk. If it cannot be avoided, use reflective ropes so at least they can be easily seen at night using a flash light.
Equipment
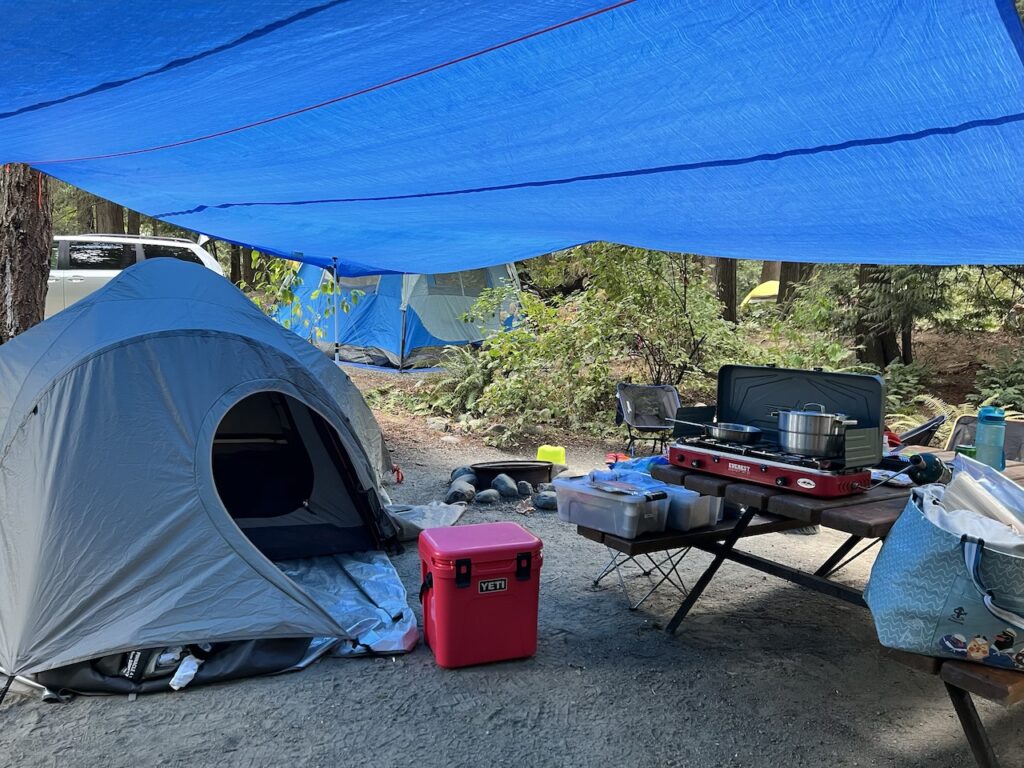
- A large tarp (ours is an inexpensive 16′ x 20′ blue tarp, sold at hardware stores for about $40)
- Strong ropes for the central ridge line (we use a couple of 6mm diameter, 50′ ropes for this)
- Reflective guylines
- 2 adjustable tarp poles
Set Up For a Large Rain Tarp
- Survey the campsite. Where do you think the tents will go? Where is the cooking area? Sitting/activity area? Do you want a campfire and can it be protected by the tarp? Is there a slope to the site?
- Choose 2 strong trees on either side of the site. Bonus point if there are branches on the side or on the back of the tree about 10-15 feet up.
- Tie the ridge line rope to a bag of rocks and throw it over the tree branch. If there are not usable branches, use the pole to move the rope up the tree as high as you can.
- Wrap the rope around the tree 3-4 times and tie off loosely at a reachable level. The friction on the tree bark is more than enough to secure the rope to the tree. No fancy knot required.
- Do the same on the other side. Now you have a central ridge line, hopefully at least 2 feet higher than the tallest person in your group.
- If you want the line to be more taut, you can use a short, sturdy stick to loop the rope around to reduce the slack.
- Drape the tarp over the ridge line. If it’s too high, first tie a corner of the tarp to a guyline, then toss the guyline over the ridge line. This will allow you to pull the tarp over the ridge line.
- Use two prusik knots on the ridge line, one on either side of the tarp, to tie the tarp to the ridge line.
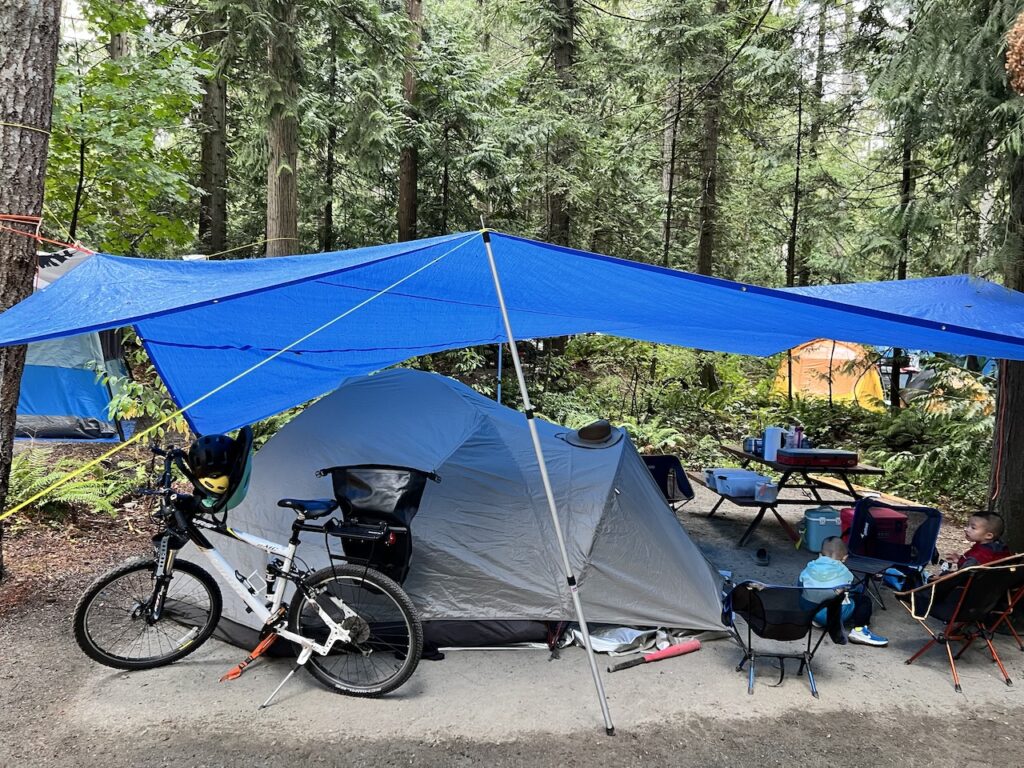
- Tie off the corners to appropriate anchor points (eg. trees, ground stakes, stable structures around), at heights that create enough head room, slope the tarp to allow for clear drainage, and not be too much of a tripping hazard.
- Use the tarp poles for fine adjustments.
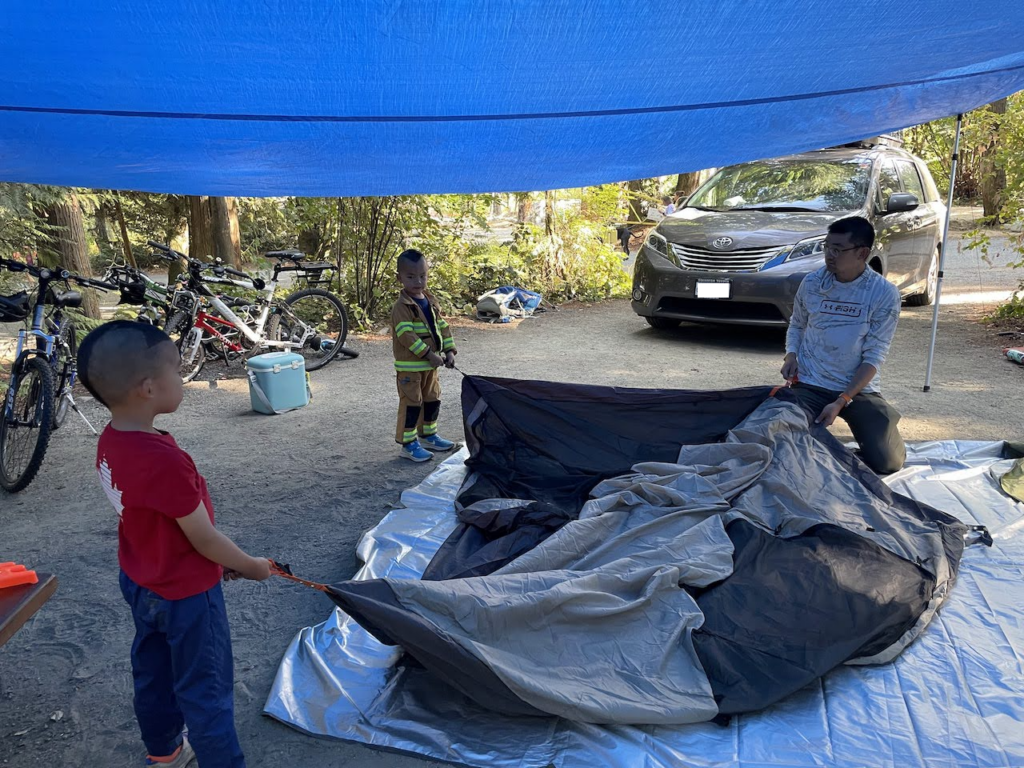
- Set up the tent after you are happy with the tarp. Make sure at least the front door of the tent, and preferably the whole front half, is under the tarp so you can get a dry entrance.

Adjustments
As long as clear drainage points can be created, one can get pretty creative with a smaller tarp where a central ridge line isn’t always necessary. (For large tarps like the 16′ x 20′ one above, the ridge line is important for evenly distributing the weight of the wet tarp.)
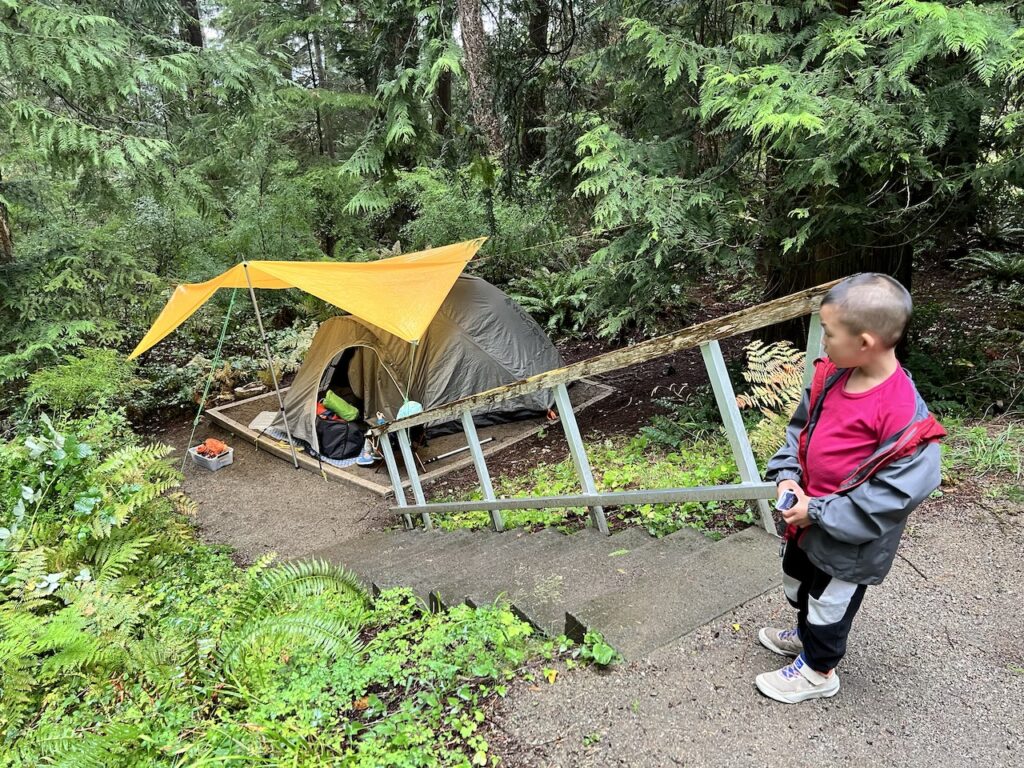
An example of this would be if the site is too small or there aren’t suitable trees for a large tarp. If you can put up even a small tarp at the entrance of the tent, it would make getting in and out a lot more pleasant. Our orange tarp is 10′ x 10′, and it’s made of higher quality, light weight polyester.
We’ve also created an airplane-shaped tarp in a pinch, using a smaller tarp tied to a line on the side. The front of the airplane was our drainage point.
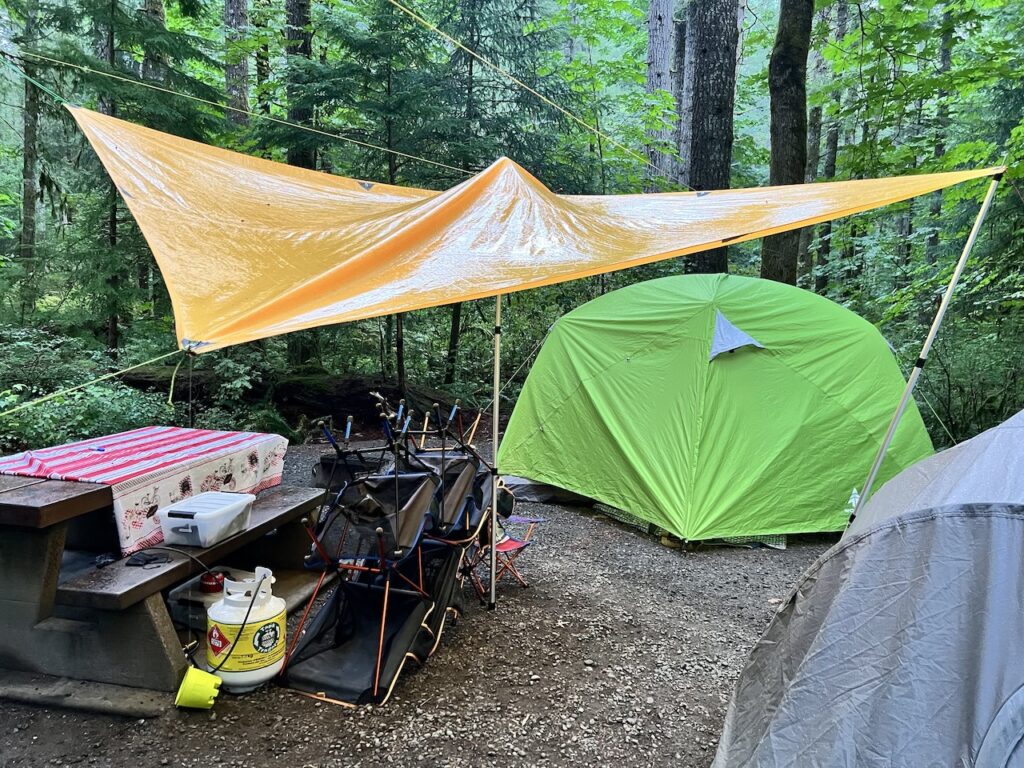
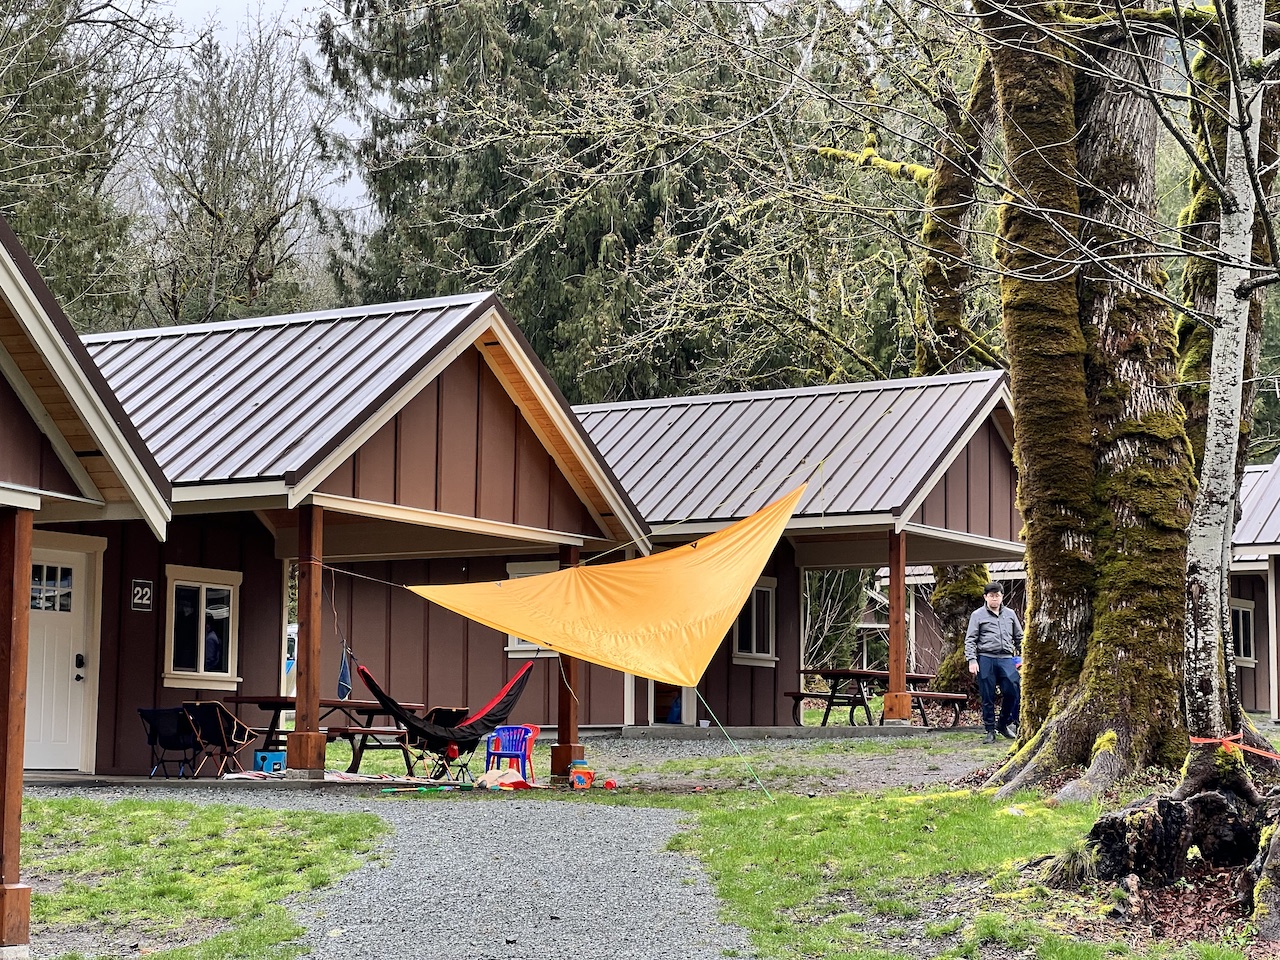
Another example was using a simple slanted design to cover a small play area for the kids.
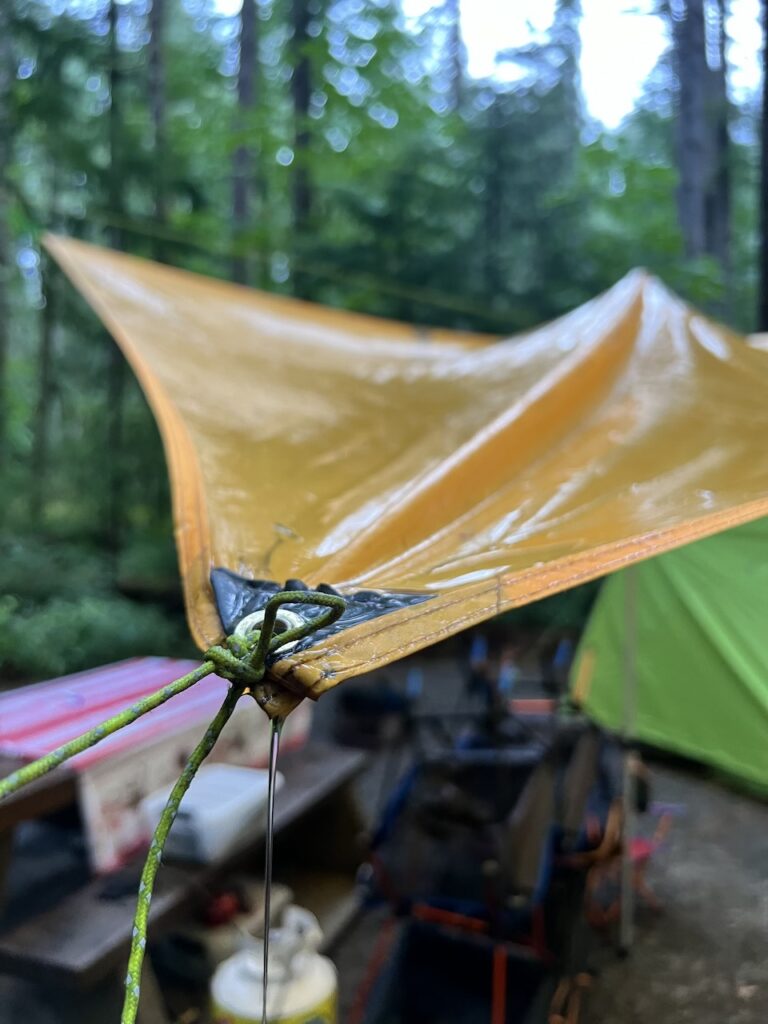
We’ve also used a small bag of rocks tied to the side of the tarp to create a low point for temporary drainage.
